About Me

My photo
I'm a retired primary school teacher, who started paper crafting in 2008, when I had a fancy to make my own Christmas cards. Since then, I have tried all sorts of techniques and styles - and I kind of like them all. I have been lucky enough to be on blog teams and large design teams and to do a bit of freelance demonstrating - and I love the challenge of working with different products. My crafting style is very varied - from junk journaling and art journaling, bookbinding and journal making, to quilting and patchwork - and of course I still make cards. This variety keeps me interested - and my crafty stash growing!! I'm always seeking inspiration for new projects.
Showing posts with label #quilting. Show all posts

Wednesday, 6 May 2020

Finally finished!

I have finally finished the first of the quilted bed throws. The other is almost identical - just a different colour backing.  I always find the binding bit tricky, and can never be bothered to stitch by hand, so it can be a battle on the machine when you get to the corners. 

So here's the finished article. You can just see the colour of the feature wall behind, which is why the Country Yard fabric was perfect!! On to the next one - and I think I may need some cushion covers too!!


Take care,
Cxxx

Sunday, 8 March 2020

Basting is boring!!

Today, I finally got around to basting my quilts. And, as the title of the post says, I find is boring and sooooo time consuming!! 

I decided to go with cotton sheets for the bottom layers, rather than the fleece. The quilts feel like they will be so much lighter as a result. I still intend to bind the edges of the fleece, so that they can be used for extra warmth in the winter! First step was ironing everything - I hate ironing - and it just took soooo long. But, preparation is everything!!


I then laid out the sheet and put the wadding on the top, pinning it in place around the edges. 

Next, I laid the quilt top over this, and again, pinned around the edge, and cut off the excess around the edges.


But, having had issues with the pins when I first started machine quilting larger pieces, last year I invested in a Micro Stitch "gun". This is one of the best little pieces of kit I have bought in a while, as I can sew the quilt without getting stuck by pins.  

So the last stage of basting was to micro stitch the layers together, smoothing it all out as best I could, while removing all the pins. So I now have both quilts ready for sewing!


Next stage is the stitching. I like this to an extent - it just depends how bulky it gets on the machine!! We'll see how we go!! 
Take care,
Cxxx


Tuesday, 25 February 2020

Quilt Tops at the ready!!

After a stressful day at work yesterday, I resolved to do no work today - just stuff for me. And of course that always has to involve crafting. And all my preparation for the quilts has paid off today!!

So, the strips I shared last time have been sewn together with long strips of sashing, and voila!! Two bed throw quilt toppers. Have to say, though, that I put on on the bed and it's come up a little smaller than I had planned - and that's before any quilting which will cause is to shrink a little more! But.... it will do the job of co-ordinating with our feature wall, AND protect the quilt when Molly comes up for a cuddle when we're chilling out!!

The next job is to baste these to the wadding and backing. I have chosen some plain fleece fabric as the backing, as we have always had fleece blankets on the bed to protect them before. I may regret it when I start quilting as it will be a little thick and bulky to move through the machine!! I may have second thoughts and just back it with more sheeting, and edge the fleece to use separately!! Decisions, decisions.....

Take care,
Cxxxx

Sunday, 23 February 2020

Quilt Progress!!

It's been a busy half term, but I managed to find some time to do a bit more work on my quilts. So, now I have 10 strips (5 per quilt) ready to sew together for the quilt tops.


And this is where it all gets very big and unwieldy - and I wish I had tried to learn how to quilt as you go!! Ah well. Watch this space!!
Cxxx

Saturday, 8 February 2020

Blocks and Sashing!

Have had a little time to finish prepping all the bits for my bed throw quilts. The sewn Crafter's Companion Country Yard strips have been cut into the large blocks, and the sashing cut from a flat bed sheet to make sure it co-ordinates with the bedding.

Love my True Cut Rulers for cutting the blocks, but have a pretty naff rotary cutter at the moment. I broke my True Cut one ages ago, and was in desperate need so had to buy my current one out of necessity. But think it might be time to invest in a new one.


Next step will be to assemble to quilt tops. Can't decide whether to do one at a time, or both together. Mmmmm - things to ponder.
Cxxx

Thursday, 30 January 2020

How to spend your day off!

I've not been at work today, so after a lot of doing nothing this morning, I got down to starting a project that I've been planning for a while. We've just had our bedroom decorated after nearly 2 years with bare plaster, and seemingly centuries old carpet, and I wanted to make a couple of new quilted throws.

When I purchased my Crafter's Companion Build a Block Curves set, I was sent a free strip roll from their Country Yard fabric collection. In fact, there was one with each of the sets. As they are the perfect colours for what I wanted, I have decided to use them to make some simple, large blocks for the quilts. The pinks that were included have been put aside for another project at a later date.

This afternoon has been spent planning the layout of the quilts, how to sew the strips together for best effect, and of course sewing the strips together.  Watch this space for the next instalment!! 

Take care,
Cxxx

Wednesday, 11 July 2018

Applique House

Here is the third in my set of sewn applique card. They are for a group of friends - seven in total - so four more will appear through the rest of the year!!

This one uses Crafter's Companion Cottage Applique die set, with lots of little scraps from my box. This was ironed onto a piece of calico, then quilted onto patterned and plain cotton. 
The frame is cut with Spellbinders Grand Scalloped Squares from a 12x12 sheet of DCWV Luxury Cardstock Stack. It's finished off with flat back pearls, paper roses, and printed and satin ribbon.
Cxxx 

Saturday, 12 May 2018

Applique Card - Flowers

Was feeling adventurous with this one. I wanted to do some sewing and be able to use it to create a card. I started by ironing on Heat & Bond Lite Adhesive (which is sewable) to pieces of fabric from my scrap box, then used Crafter's Companion Die'sire Spring Flowers Mixed Media dies to cut out the shapes.
These were ironed onto a piece of white cotton and sewn with my sewing machine. This was placed on a piece of patterned fabric, and with thin wadding and interfacing underneath. I used decorative stitches on my sewing machine to quilt them together. 

I used red tape to attach this to an 8x8 card base, and cut a circular aperture with Spellbinders Grand Scalloped Circle in a piece of Kanban British Birds card, to provide a frame and cover the edges of the material.

Finally, I finished off with ribbon and paper roses.

Cxxxx

Tuesday, 10 April 2018

Scrappy Quilt - Finished!

Managed to bind the quilt over the last couple of days. Nothing complicated. 
I cut 2" strips from a piece of random green cotton fabric in my stash, and joined them to make a piece of continuous binding.
The length was folded in half and ironed, then sewn to the back of the quilt. Because I am lazy and don't always have the patience for hand sewing, I then top-stitched the binding on the front.
It is not, by any means, a perfect specimen of a quilt, but Molly seems to like it - so I'm happy with that.


Cxxx

Saturday, 7 April 2018

Scrappy Quilting

Needed something to do today that was pretty mindless - in that I didn't need to concentrate too much. So I decided to make a scrap quilt - but in a very scrappy way. I didn't bother much about lining things up, or quilting straight lines. 
When I first wanted to do patchwork a few years ago, I bought charm packs in various colours - and there was always some that I just didn't really like. So this is a combination of all the ones left that I didn't want to use - along with a few other bits and pieces to fill it out. 

I'm really not bothered that it's a bit all over the place colour wise - it'll be for the dog, so she's not going to be bothered. I've backed it with fleece to make it a bit cosier for her.

Next job will be cutting some binding and finishing it off. But I'm pleased with it so far.

Cxxx

Thursday, 30 June 2016

It's a Dog's Life!!

Finally have found some time to blog!! Have been doing really busy things behind the scenes on Pinterest - and even found time to update my own boards!! For anyone that would like to follow me I am Papercraft By Carole - but you for loads more inspiration, follow the Crafter's Companion board too!

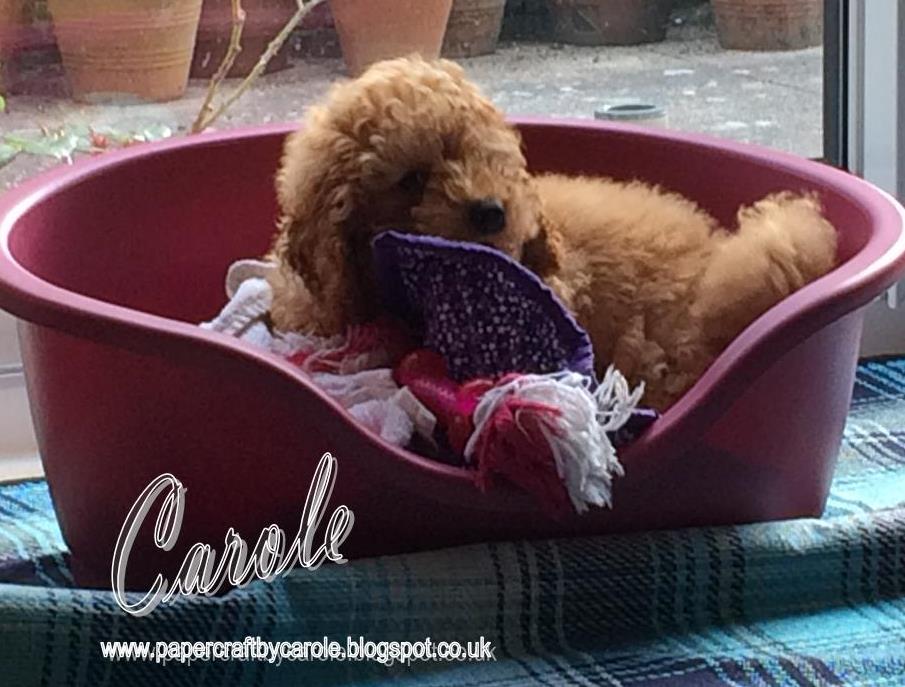
Anyway - way back at the end of April, we picked up our puppy Molly. And I did manage to fit in a bit of sewing before she arrived. I made a quilted bed liner using some gorgeous cotton from my local fabric shop, and white supersoft fleece.
The blanket is also supersoft fleece. Never worked with this before - my word is there a lot fluff when you cut it!!

Anyway, although this is all quite straightforward, it was the first time I made and used my own binding. Was quite a process as I made two of the bed liners and two blankets, so needed about 10m!! Am seriously considering investing in one of those bias binder maker things.

Molly seems to like it to chew on - and it's always good fun to empty everything out of the bed for me to put back in again!!
Back soon (hopefully)!!
Cxxx

Tuesday, 29 March 2016

Day 89 - Another glittery play!!

For someone who really doesn't like the mess of glitter, I am really loving the sparkle I can achieve without all the clearing up after!! Have only had time to colour and make backgrounds today - will hopefully have a chance to make it into a card tomorrow.
I coloured in the image with the Spectrum Noir Sparkle pens: Peacock Blue, Sage, Hearthside (V); Pink Champagne (S/S); Olive Jade (A/W); Sterling Silver (M); and Crystal Clear.  The image is from another "Daisy Mae Draws" Ready to Colour Art Book from The Hobby House. This one is "You're Sew Kind".
The two papers are Crafter's Companion Watercolour card. One is Sage Sparkle Pen with Sheena's Best Friend Swirls. The other is Peacock Blue Sparkle Pen with a stamp from the Textures Splats and Stains set.

Hopefully back tomorrow with a completed card.
Cxxx

Monday, 22 February 2016

Day 53 - All cut up!!

Evening!! Had a busy day today. Full day of teaching, quick run after work, and a few computer things to get sorted after this. So, another quick post this evening.

Having shared a picture of my newly washed fabric stash, I have now cut into a lot of it in preparation for future projects.
I have matched a pattern with a block colour - and you can see some wadding in there too as I intend to quilt one or two items!! 

It's now all safely stored in my recently acquired sewing basket - waiting for when I have more time to sit and sew!!
Back tomorrow.
Cxxxx

Sunday, 21 February 2016

Day 52 - Fabric Stash!!

Evening!! It is becoming obvious to me through doing this image a day, that I seem to have lots of different projects going on at the same time - including things I've started and not got round to finishing - and things I've got a head start on and have put away to finish later. And then I always seem to be starting something new too!!

Well, on Friday I visited my local fabric store as I needed something for an upcoming project or two (any excuse). And I had a bit of a blow out!! So, yesterday I washed and dried all the fabric - I only do this when I have bought off the roll by the metre - not when I have pre-cut pieces. So this morning I had a marathon ironing session. This is one of the few times that I iron - I really don't like doing it - but I also don't like working with really wrinkled fabric.

And now I have a lovely pile of gorgeous fabric ready to be cut up for the projects I have in mind.
Back tomorrow!!
Cxxx

Monday, 15 February 2016

Day 46 - Free Motion!!

Evening!! Well, after my little play with faux leather, I decided to try and Free Motion Quilt it!! Now, as I hadn't tried Free Motion with my machine before, I thought I'd better have a go with fabric first. So I marked out a squiggly line on a piece of cotton and went for it.
And as you can see below, I found it rather tricky to stay on the line - so I went a totally "free" hand!!
And then I wrote my name on another piece and tried that - with better success. I was finding that the faster speed I had the machine going, the more even the stitch - provided I kept the material moving steadily.
So then it was time to have a go with my faux leather. I started with the one embossed with the Leaf Vein. And stupidly I decided to try to follow the vein lines. Well, that lasted about 5 seconds. I would end up almost trapped in one part of it - and then need to stop and start again in another. 
To be fair, though, the finished article is alright!!  On the other piece, I just went for random - as far as someone who likes order and symmetry can do random!!
However, I found it a lot easier to do the "just move it about and try to cover the majority of it" - than following lines. I will have to practice a lot more before I let this loose on a proper quilting project.

Well, now I have them quilted, 
I need to ponder on what to do with them now. Mmmmm......
Cxxxx