About Me

My photo
I'm a retired primary school teacher, who started paper crafting in 2008, when I had a fancy to make my own Christmas cards. Since then, I have tried all sorts of techniques and styles - and I kind of like them all. I have been lucky enough to be on blog teams and large design teams and to do a bit of freelance demonstrating - and I love the challenge of working with different products. My crafting style is very varied - from junk journaling and art journaling, bookbinding and journal making, to quilting and patchwork - and of course I still make cards. This variety keeps me interested - and my crafty stash growing!! I'm always seeking inspiration for new projects.
Showing posts with label #craftyimageaday. Show all posts

Monday, 4 April 2016

Day 95 - Diamond Press!!

An earlier post today as I am going out in a bit and may not have time later. Having another day today where I'm not feeling on top form. Spent part of this afternoon snoozing - not really what I wanted to do as I have lots to get sorted - but just didn't have the energy to fight it.

Anyway, I have a new toy - not yet played with it - but it's here now, ready for when I do have a minute.
Cxxx

Sunday, 3 April 2016

Day 94 - Blog Post 500!!

Wow - 500 blog posts - nearly 100 of which have been just this year!! Been out and about today, so not much time to craft. 
But this is what has been sitting on my craft desk all day. Hopefully will do something with it tomorrow.
Cxx

Saturday, 2 April 2016

Day 93 - Aquatints!

Evening. Not much to share tonight. Just a couple of Aquatint backgrounds in preparation for a particular project.
Both use Perfect Primaries 12, Pretty Pastels 55 and Bright and Beautiful 15. The one on the left is using the clingfilm technique, and the one on right is the salt technique. 
Cxxx

Friday, 1 April 2016

Day 92 - Glittery Sewing!

Evening!! Today has not been quite so busy. Managed to get out for some paddleboarding, but also had time for a little crafting.

So, I managed to put the card together from the pieces shown below, that I shared on Day 89 (click on the link for all the details of colours etc). 
I added some Bazzil cardstock to match the green and the blue, and cut the image out with a Spellbinders Oval die. I cut the scalloped oval in both colours, the cut the green one before sticking it on top of the blue.
The flower is Sheena A Rosy Outlook Perfect Partners die, and I used the Fancy Flourishes die from Sara Davies' Butterfly Lullaby Signature collection.
Back tomorrow,
Cxxxx

Thursday, 31 March 2016

Day 91 - Blue is the colour.....

Evening!! Have had a much better day today - headache gone, so managed to get loads done. Loads of things - but not much crafting!! Been to the chiropracter, then out for a muddy ride on my bike. I then spent time in the garden, planting my onion sets, and checking on the progress in the greenhouse. And this evening I went paddleboarding. I managed to squeeze a very small amount of time to craft - and transformed some cream paper roses into blue paper roses. Not the obvious colour you may think - but they are for a project I am working on.
All I did was to scribble my Navy Spectrum Aqua pen on a white tile, water it down and apply it to the rose with a paintbrush - making sure it was all covered. I think I'll add some sparkle to them too before I use them.
Cxxx 

Wednesday, 30 March 2016

Day 90 - Heavy Horses!!

Have been battling a headache most of the day, so really not got much done at all. So, it's quite fortuitous that the Tutorial over on Crafter's Companion Blog today is one of mine. 
This is one of the Shadow Boxes from the "A Country Life" CD. All details on how I made it, is over on the Crafter's Companion Blog
Will hopefully get more done tomorrow.
Cxxx

Tuesday, 29 March 2016

Day 89 - Another glittery play!!

For someone who really doesn't like the mess of glitter, I am really loving the sparkle I can achieve without all the clearing up after!! Have only had time to colour and make backgrounds today - will hopefully have a chance to make it into a card tomorrow.
I coloured in the image with the Spectrum Noir Sparkle pens: Peacock Blue, Sage, Hearthside (V); Pink Champagne (S/S); Olive Jade (A/W); Sterling Silver (M); and Crystal Clear.  The image is from another "Daisy Mae Draws" Ready to Colour Art Book from The Hobby House. This one is "You're Sew Kind".
The two papers are Crafter's Companion Watercolour card. One is Sage Sparkle Pen with Sheena's Best Friend Swirls. The other is Peacock Blue Sparkle Pen with a stamp from the Textures Splats and Stains set.

Hopefully back tomorrow with a completed card.
Cxxx

Monday, 28 March 2016

Day 88 - Glittery Wellies!!

So, today I had a little time to play, and took the pieces of watercolour card I'd washed yesterday for backgrounds and made them a bit more interesting. On a white tile, I put some Moonlight Spectrum Noir Sparkle pen and watered it down. I then used it to stamp the raindrops from Crafter's Companion Textures Elements Wet and Windy stamps.
I repeated this with the Hearthside pen and one of the stamps from Textures Splats and Stains.
These were then used to create the mats and layers for the card to go with image I coloured yesterday from the "Daisy Mae Draws - Days of Summer" Ready to Colour Art Book from the Hobby House. I used Spectrum Noir Sparkle Pens - Peacock Blue, Hearthside and Sage from the Vintage set; Red Berry and Holly Leaf from Autumn/Winter; Rose Quartz and Moonlight from Spring/Summer; and Sterling Silver from the Metallics.
For the decorative circular mat, I used Crafter's Companion Die'sire Spring Garden Decorative Create a Card - cutting one half, then turning the die round and cutting the other. The flowers are Die'sire Essentials Flowers for All Occasions 4. 
I rather enjoyed making this - nice and bright and cheerful - and appropriate with all the rain we've been having recently!
Cxxx

Sunday, 27 March 2016

Day 87 - Easter Treats!!

Evening!! After a very rushed post last night (which was mostly due to the quantity of wine drunk at our lovely Easter family meal) - I have a little more time tonight. And I have been playing with one of my non-chocolate Easter Treats. And that would be my Spectrum Noir Vintage and Metallic Sparkle Pens. As well as making my usual colour chart, I have also been doing some colouring.
Ages ago, I bought a couple of "Daisy Mae Draws" Ready to Colour Art Books from the Hobby House. This image is from the "Days of Summer" book, and I have used Peacock Blue, Hearthside and Sage from the Vintage set. I also dipped into the other sets, using Red Berry and Holly Leaf from Autumn/Winter, Rose Quartz and Moonlight from Spring/Summer, and Sterling Silver from the Metallics.


I intend to make it into a card, so also used some watercolour card to make a couple of background pieces to tone in for matting and layering. I ran out of time to do it today, so will hopefully have time another day.
Cxxx

Saturday, 26 March 2016

Day 86 - Just a quick post!

Evening!! Just popped on very quickly to share today's Crafty Image. Have had a very busy day - so this is another play I had with the paints yesterday. Slightly more successful than the jigsaw - but still not that pleased with it.
No idea what I will do with it - but I can contemplate that another day!!
Cxxx

Friday, 25 March 2016

Day 85 - What a mess!!

Evening!! Well, I had a chance to play with my Pebeo Prisme and Moon paints today. And all I can say is - what a mess!! 

I decided this morning, that the gold texture paste probably wasn't the best idea, so I painted over it all with Pebeo Black Gesso.
I then got my little pots (and they are little as I bought the discovery sets of both). The thing with these paints are that they are solvent based. And the stuff in them separates. You have to mix them up with a stick or similar.
So, with my paints prepared - and the solvent fumes beginning to waft, I started trying to apply them. They are meant to be dropped onto the surface, rather than painted, and so I decided to just use the end of the stick. Bad idea. Absolutely no control over this - it just dripped off the end into places I didn't want it to be. 
And then I would drop it onto another colour - and it would overflow the edges. It's all ended up a bit of a mess. I'm going to try to save it by tidying up with a bit of black Gesso. But I can't do that yet as they take hours (and hours) to dry. I may even resort to cutting out the individual jigsaw pieces.

As for the special effects, you need to have quite a thick layer of the Prisme to get the honeycomb effect that it is designed to create. You can just see it on the gold on the right, and the Eggshell on the bottom left corner. 

I have to admit that I am still not convinced about these paints. I don't like the fumes (and you need to clean up with white spirit which just adds to it), and I need to find a more controlled way to apply it (maybe pipettes). And I need to decide the best thing to use it on.  

This one is definately to be continued. 
Cxxxx

Thursday, 24 March 2016

Day 84 - A little further along ....

..... with the project I shared yesterday. But haven't had a whole lot of time. So, applied the embossing paste through the stencil. This was mostly successful, but you can see I made a bit of a pigs ear of the top left corner. 
Had to leave that to dry, then the black you can see (rather wobbly lines - but never mind) is Pebeo Black Cerne Relief. I have tried to make each black puzzle piece seperate, so I can drop in the Pebeo Moon and Prisme paints and they won't all run in together. Will hopefully get to finish this tomorrow.
Cxxx

Wednesday, 23 March 2016

Day 83 - I have a plan.....

... well, maybe. Bought some mini pots of Pebeo Moon and Prisme paints eons ago. I tried them once and didn't have much joy - don't think i was using them correctly. So, I decided I want to try to play with them again.
So, I am going to used this "That Special Touch" Jigsaw Puzzle mask and embossing paste to create a base to try them out on.
Will let you know how I get on!
Cxxx

Tuesday, 22 March 2016

Day 82 - Pop Up Box!

Evening!! Ended up working all day today - so no crafting done. But I have written a tutorial for this pop up box from Crafter's Companion A Country Life CD - and it's on the Crafter's Companion Blog today.
All the pop up boxes from the "A Country Life" CD work in the same way - and I always make them so they will fold flat for posting!
Back tomorrow.
Cxxx

Monday, 21 March 2016

Day 81 - Ink Blot!

Evening! I have had one of those days today. Optician this morning - new lenses needed - so cheaper to buy new frames too!! Then decided to go for a bike ride in the sunshine as I'm not supposed to run this week. Didn't really enjoy it - so was quite a short one. I then spent some time putting greenhouse staging together - made a right pigs ear of it - and managed to gouge my hand in the process. The rest of the day has been spent doing very little as I just couldn't muster the enthusiasm!!
What I did manage to do was to create charts for my new Memento and VersaFine inks - and used one of the Crafter's Companion Textures Journal Jottings stamps to ink them up!
It is, however, very frustrating that I am missing one of each set - and strangely it's a grey one in both!! Will have to rectify that soon!!
Cxxx

Sunday, 20 March 2016

Day 80 - Back to Earth with a bump!!

I've had such lovely comments and feedback on Facebook for my last few shares of my cards. It always makes you feel really good and positive about your work. And I have to admit that I was very proud of them. But today I have decided to share a card that I'm not so happy about - because we all have those days. 
I cut all the bits for this Accordion card a while back using Crafter's Companion Die'sire Square Accordion die and accompanying layering dies - and also the Polka Dot overlay. I was really looking forward to assembling it all. But there is just something about it that I am not happy with. It could be that the base card was too lightweight which has caused it to bow a bit. It could be that the olive green card for the polka dot overlay was a bad choice and overpowers everything else. It could be the combination of green and red - which seemed to work when I was cutting it all out. It's not awful - I'm just not pleased with it. 

It was meant to be for a friend's birthday - but I think I will go back to the drawing board. I have used it as a learning experience in assembling the Accordion dies. And as a reminder that even when we're on Design Teams, we can still come up with things that are really not quite right!! Sometimes the experiments pay off - and sometimes they don't.

Just a very quick thank you to those people who have been popping over here, and then leaving comments on FB - and to a few new followers of my blog via Twitter, Pinterest and Bloglovin' (all necessary links on the right hand side of my blog) - and on Facebook (Papercraft By Carole) . I really appreciate you taking the time to have a look and share this year of Crafty Images with me - 80 down 286 to go!! 
Cxxxx 


Saturday, 19 March 2016

Day 79 - Celebration!!

Evening! Today is the wedding anniversary of my lovely brother- and sister-in-law. So, I am sharing the card I made for them.
I started with the Kanban Love and Marriage topper, and cut the large decorative mat using Matt Black card and Die'sire Decadance Create a Card. The square mat that comes out of the middle of this was used for mounting the sentiment - Die'sire Essentials Only Words Happy Birthday & Anniversary with Spellbinders Sapphire Ribbon Slider. The flowers are Die'sire Flowers for All Occasions 3.
Back tomorrow.
Cxxx

Friday, 18 March 2016

Day 78 - Flutterby Butterfly!

Hello. Another one of my AquaTint backgrounds made up into a card - probably the last for a while as I have other things to work on! 

This one is made up of Bright and Beautiful 56, Pretty Pastels 59 and Pretty Pastels 05. It's another splatter technique - a comibination of the Distress Splatter brush and Spray bottle.
I then stamped the corner stamps from Textures stamps: Walls and Corners, & Splats and Stains, using VersaFine Imperial Purple.
The swirls are Sheena Best Friend Swirls.
I then embossed with Textures Elements Sunbeam folder.
I then cut it down, and inked it with Wilted Violet Distress Ink.
Forget to take any more photos - but I then used Pebeo Renaissance Gold gilding wax over the top, before mounting on some coppery mirror card from my stash. The butterfly is Sheena Country Cottage Perfect Partners All A Flutter, and the flourishes are Sara Davies' Floral Delight Leafy Flourish. 
The sentiment is from Die'sire Sentimentals Nature set.
Back tomorrow,
Cxxxx

Thursday, 17 March 2016

Day 77 - Lightning Strike!!

Evening. Busy day today, tidying up the veg patch and sewing a few peas while the sun shined! Very satisfying! But also found time to make up another of my AquaTint experiment.

This one used Bright and Beautiful 15, Pretty Pastels 55 and Perfect Primaries 12. Once dried, I used my Distress Splatter brush and blotted with kitchen towel. 
I decided to use the Textures Elements Lightning folder on this one, but didn't want it to take up the whole of the image like yesterday. So I dug out my Sheena Summer Meadow 8x6 stencil, and sponged some Pebeo Black Gesso through it.
Once that was dried, I decided to emboss just the top part of the image so that the lightning just came down over the tree.
It's almost impossible to see on the photo, but I then added some Pebeo Silver Gilding Wax with my finger.
Now, although it showed up a bit, it wasn't strong enough for me, so I used a very fine brush, and painted more gilding wax over the top.
As you can see, it's much more striking!! I inked the edges of the image with Black Soot Distress Ink, and mounted it on black, grey and pink card. The sentiment is a Die'sire Sentimentals stamp from the Memories are Made set.

Back tomorrow,
Cxxx

Wednesday, 16 March 2016

Day 76 - True Blue!!

Evening all!! Well, after setting up the AquaTints yesterday, I created a few different backgrounds. And I used one of them to create the card that is today's image.
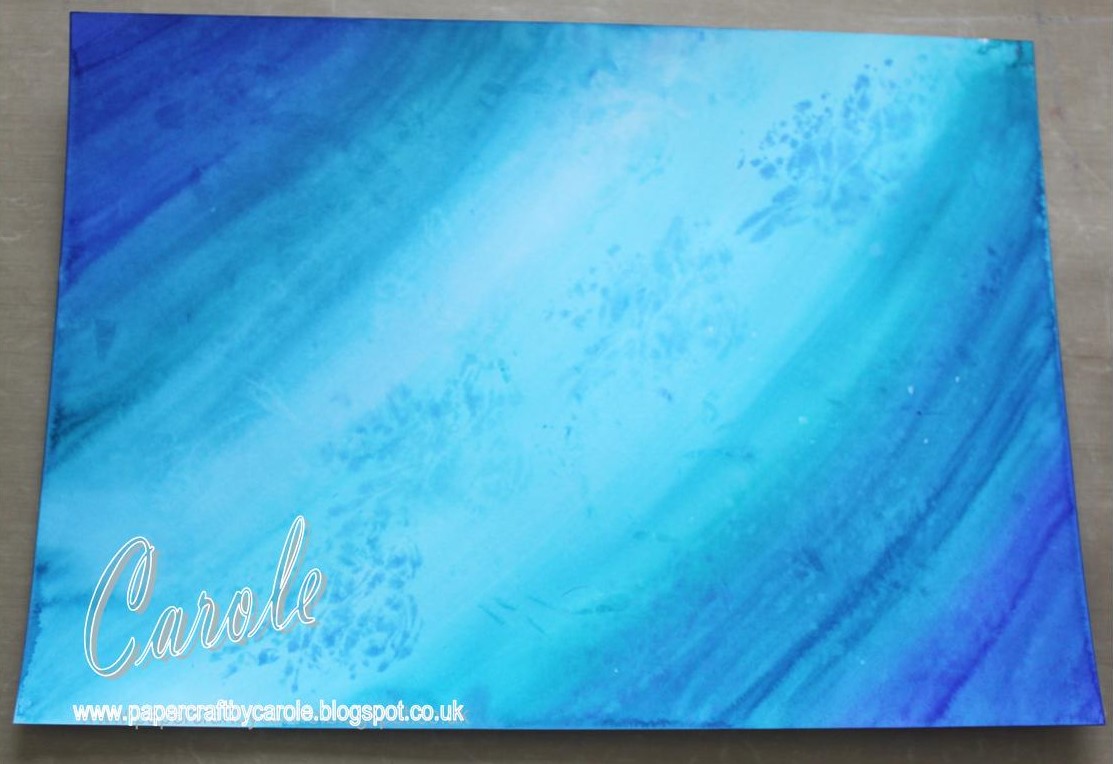
This started life as this:
I used Sheena White Stamping card and three AquaTints: 02 from Perfectly Primary, 03 from Landscape, and 05 from Pretty Pastels, and attempted the clingfilm technique. Have to say it wasn't overly successful - but you can sort of see it in the middle.

This colour made me think of using the Textures Elements Waves folder, so I ran it through my machine.
I then randombly dabbed a little glycerin into the debossed areas with a paintbrush - just enough to hold some Stampendous Shabby Blue Frantage while I embossed it from underneath.
I then cut it down to 8x8 size to fit on a card front .....
... and inked the edges with Salty Ocean and Blueprint Sketch Distress Inks.
It needed something more so I inked the edges with Black Soot Distress Ink, and also went over the embossing with it too.
And (it doesn't really show in the photo) I then went over with Pebeo Empire Gold Gilding Wax.
To create the card, I took some cheap brown paper flowers (think they were Poundland), and used Gesso and Aquatints to colour them, before adding some gilding wax.
The words are from Textures Elements stamps - Words to Inspire 1. I did not mount the stamps on a block but inked them with Blueprint Sketch on my craft mat, leaving on any ink that hit the sides. This helped to provide an edging to the word when I pressed them onto the card.
I cut a square out of the centre of the embossed background, mounted it, and slightly offset it to create a bit of height in the middle.

The colours in the final photo look a little different - I think it's because I photographed it against a white background, while the rest were taken with my craft mat as the background.

Hopefully in the coming days, I will make up some of the other backgrounds into cards and share them.
Cxxx