About Me

My photo
I'm a retired primary school teacher, who started paper crafting in 2008, when I had a fancy to make my own Christmas cards. Since then, I have tried all sorts of techniques and styles - and I kind of like them all. I have been lucky enough to be on blog teams and large design teams and to do a bit of freelance demonstrating - and I love the challenge of working with different products. My crafting style is very varied - from junk journaling and art journaling, bookbinding and journal making, to quilting and patchwork - and of course I still make cards. This variety keeps me interested - and my crafty stash growing!! I'm always seeking inspiration for new projects.
Showing posts with label #lace. Show all posts

Sunday, 2 September 2018

True Love Forever

I have been amassing a few gorgeous trinkets to alter from my local car boot, but in the meantime, I have a box canvas created using a load of Imagination Crafts goodies - and an old pre-used canvas.

I have used:
Off cuts from rice papers - 339 and 446
Starlights - Hot Pink, Clotted Cream
White Gesso
Decoupage glue
A4 Art Stencil - Crosshatch Elements
Structure Paste

Other
Box Canvas
Lace
Red Liner tape
Doilies
Art Basics Heavy Body Gel
Paper flowers, fabric flowers, wooden hearts, Card Candi, UTEE flowers
I decided to use up some scraps of rice paper and a box canvas that I had previously used and over-painted.
I played around with the pieces I had, until I was happy.
I painted the canvas with white gesso.
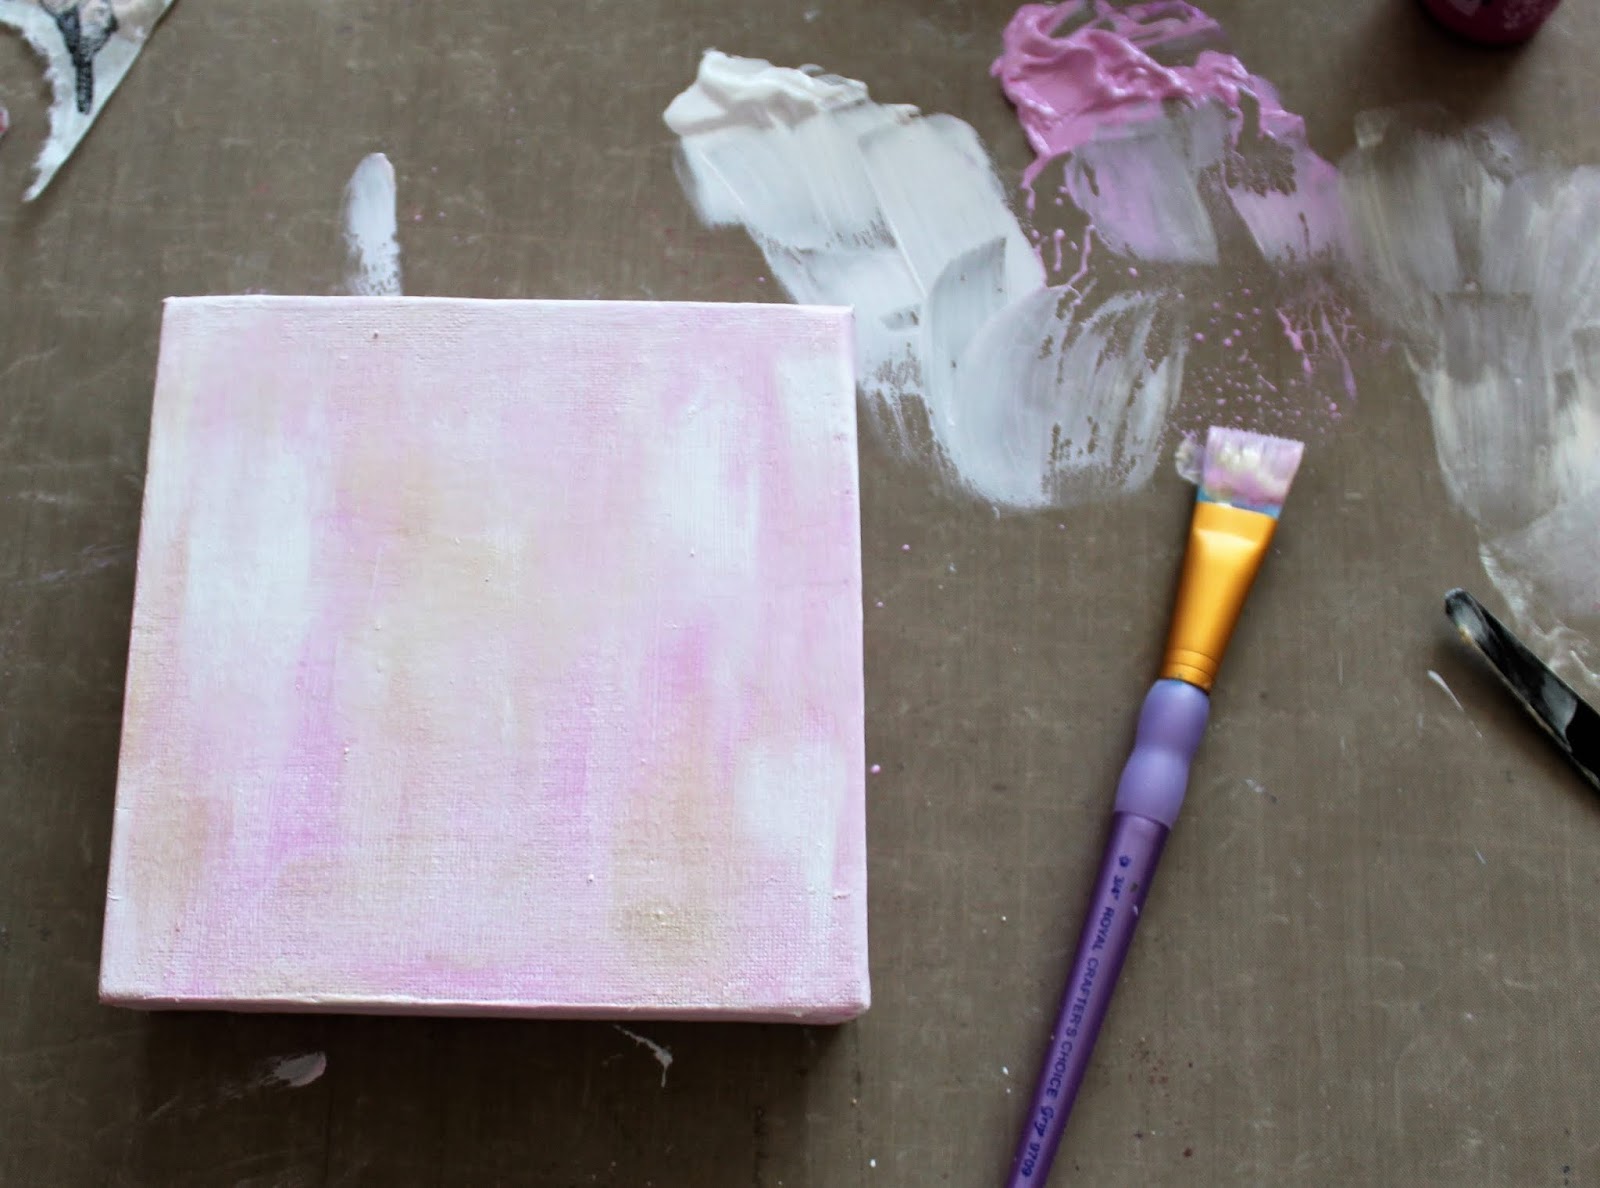
I then brushed Hot Pink and Clotted Cream over the canvas with a bit more gesso.
Using Decoupage glue, I stuck the rice paper to the canvas.
The lace trim was stuck on using red liner tape.
I added a quarter of a doily to each of two corners, using decoupage glue.
A mixture of structure paste and Hot Pink Starlight paint was mixed, and applied through A4 Art Stencil - Crosshatch Elements.
I then had a rummage through my stash to find some embellishments and stamps and played with the arrangement of them until I was happy.
At this point I decided to add the structure paste to the edge of the canvas . 
I glued more rice paper to a whole doily.
The first layers of embellishments were added using Heavy Body Gel.
I had a go at making some embellishments using the Structure Paste and moulds. It did take quite a while for the paste to dry in the mould - the thinner the piece the quicker it dried.
I added these onto the canvas.
And covered over with white gesso. The paper flowers really didn't want to be covered - never had that before - the colour just kept seeping through even after several layers. Lesson learned - and I don't think it shows too much.
With a dry brush, I added Hot Pink and Clotted Cream Starlights and more gesso.
I gessoed the wooden hearts, painted them with Hot Pink Starlight, and then dabbed Clotted Cream Starlight over the top with a dry baby wipe.
Having painted Clotted Cream onto a piece of card, and then I stamped using Crafter's Companion Textures word stamps. I cut the pieces into banners, and edged with some of the pink structure paste.
I added the hearts to the canvas.
And then the words.
The words don't show up so well on the final photo - but hopefully you get the ide.
Back soon
Cxxx

Friday, 8 June 2018

Just Playing!

You may have noticed that the fabulous Imagination Crafts has joined Crafter's Companion with their amazing range of mixed media products. I've been a bit lacking in motivation recently, so it's taken me a while to have a play. 

I treated myself to a selection of goodies and for this project I used
Rice papers - 399 and 403
Magi-Bond Decoupage glue
Fabric decoupage glue
Starlight Paints - Heather, Clotted Cream,Topaz
Starlight Wax - Dark Orchid
Stencil - A4 - Crosshatch Elements
Magi-Cutz - Moroccan Trellis

I also used:
Crafter's Companion Watercolour card
Crafter's Companion Essentials Flowers for All Occasions 3 & 4
A mirror frame (bought loads of these years ago from Ikea)
Pebeo White Gesso
Wooden Butterflies, old buttons, ribbon, lace and pearls from my stash
Art Basics Heavy Body gel
I started by mixing Heather with white gesso and covering the complete frame. I then layed out the the rice papers to decide where they would go, and used water to help me tear them. 
 The rice paper was stuck down with Magi Bond decoupage glue.
Next, I stuck down a load of old buttons - the sort you wouldn't really want to use on anything special. Because I wanted them to stick really well, I used Heavy Body Gel - this stuff is amazing at sticking - but don't expect to ever remove it afterwards!!  
Dark Orchid Starlight wax mixed with a bit of water was sponged through the Crosshatch Elements stencil on the bottom left corner, and also over the buttons.
As I wanted quite pastel colours in the background, I mixed all three Starlight paints with with gesso.
The Clotted Cream mix was painted over the buttons. 
This was also dabbed over the other parts of the frame. The brush I was using is very old and clumpy and formed just the right kind of texture to dab on. I repeated this with some of the two colours. 
It was also used to base coat the two wooden butterflies. 
And to paint onto watercolour card to cut the flowers.  I also used Clotted Cream directly over the Topaz/gesso mix.
As ever, I managed to forget to photograph a lot of stages towards the end. So, I adhered a piece of white lace down the right hand side, and a piece of white organza ribbon across the bottom - both with the fabric decoupage glue. The gesso mix of paints was dabbed over them.
Next, pieces of the magi cut were covered with Dark Orchid Starlight Wax, and the butterflies were painted directly with the Starlights. I also dabbed the Starlights over the buttons. Dark Orchid was also used to edge the mirror. Finally the flowers were cut out, arranged and a small pearl placed in the centre.

There are a few things I would change - but overall I'm pretty happy for a first play with a big range of products.

Off to think about what to do next with all these goodies!! 
Cxxx

Friday, 18 May 2018

To the Happy Couple

A very good friend of mine is today marrying a lovely man and starting a new life together. I made this card for them using a Kanban Love and Marriage. 
I used patterned card and paper from my stash to matt and layer with pink card onto the base. The patterned background piece was cut from the pink card using Crafter's Companion Die'sire A6 Daisy Dreams Create a Card die. 

The Kanban topper sits on top of that, and the card is finished with lace, a lace bow, and a Hobby House sparkler.

Cxx

Sunday, 15 April 2018

Special Anniversary

My brother-in-law and sister-in-law celebrated 30 years of marriage this year. I made this 8x8 card for them, using heart toppers and a sentiment from an old Kanban kit.
The background is made from Centura Pearl and Crafter's Companion A3 Double Sided Decadence Card. I used Crafter's Companion Downton Abbey - Downton Decor die, with lace and ribbon to decorate.

Take care,
Cxxxx

Friday, 6 April 2018

Playing Catch Up

I have been spending some time getting my Pinterest boards up to date with all my photos - most of which I have never blogged. I am hoping to get them onto Instagram at some point too - but we'll wait and see whether that happens! If you are interested, then please pop over to my Pinterest board and take a look - and maybe follow me there too. I'm there under Papercraft by Carole.

As I'm not yet too far behind with my 2018 pictures, I though I would do a couple of blog post over the next few days to get myself back on track. Today I have two cards I made for Mother's Day - one for my Mum and one for my Mother-in-Law.


Both were made using Hunkydory "A Relaxing Day" topper sheet and matching card.


The easel card is a pre-cut blank - I think it was from Craftwork cards.

Take care,
Cxxx

Friday, 27 October 2017

Simple and Elegant

Did you catch the 10am show with the new 3D embossing folders, dies and stamps? During that show Matt really liked this sample - showing how simple you can keep it, yet how elegant and effective it can be. 
This is the French Lace folder embossed onto Sheena White Stamping Card. I then painted over the design with Old Paper and Spun Sugar Distress Inks. To highlight the embossed detail, I put some ink on my finger and went over the top. The lace edges are painted with Spectrum Noir Clear Overlay Glitter Sparkle Pen. I stamped the sentiment using Spanish Moss Versafine.  

Tune in again at 4pm for more inspiration.
Take care,
Cxxx

New 3D Folders

Morning. Not long until the launch of the gorgeous new 3D embossing folders, with complementing dies and stamps. 

Here's another of my makes - one of those mirror frames from Ikea, painted with a mix of Pebeo White Gesso and Pebeo Deco Matt Sepia. 
I used the Kraft card with the Textured Swirls embossing folder. The pieces near the corner were painted with the Gesso and Sepia mix before embossing, and the center one, it was dry brushed over after embossing. Both were inked over with Walnut Stain Distress Oxide - as was the frame itself. 

I also used the Rose Vine, Take Flight and Floral Delight Dies, adding texture to the base, and as embellishments over the top.

Enjoy the shows.
Cxxx

Saturday, 25 February 2017

Shabby Chic Tag Card

Morning!! Have another Shabby Chic sample to share today!! This one is a tag shaped Kraft card cut with Die'sire Create a Card Base Die - Stacey, which I embossed with the Rose Garden folder, and inked with Gathered Twigs Distress Ink.


The pink papers (all inked with Tattered Rose Distress Ink) are from the 6x6 paper pad, as are the black flourish and pieces behind the window. The window is the Weathered Window die from the collection, and I also used the Chic Butterflies dies and the Filigree flourish. 

The sentiment and the banner it is on are both from the Cherished Memories stamp and die set. I've also used a bit of lace from the Lace Ribbon pack, with some little pearl embellishments.

Keep an eye out for more Shabby Chic samples. 

Cxxxx