About Me

My photo
I'm a retired primary school teacher, who started paper crafting in 2008, when I had a fancy to make my own Christmas cards. Since then, I have tried all sorts of techniques and styles - and I kind of like them all. I have been lucky enough to be on blog teams and large design teams and to do a bit of freelance demonstrating - and I love the challenge of working with different products. My crafting style is very varied - from junk journaling and art journaling, bookbinding and journal making, to quilting and patchwork - and of course I still make cards. This variety keeps me interested - and my crafty stash growing!! I'm always seeking inspiration for new projects.
Showing posts with label #3Dproject. Show all posts

Friday, 3 July 2020

Fuchsias

Fuchsias are one of my favourite flowers, and I have a few in the garden. So, as this week I am working on "F", I decided I wanted to include them in my project. That way I cover flowers and the colour! I also decided to make a Fold Over Box, following the sizing guide from Beccy's Place.


I have never made fuchsias before, so found a great tutorial from Archana Joshi. I was surprised at how straightforward they are to make, and how effective they look.

So, you need a rounded petal flower and a pointed petal flower. Archana uses punches, but I don't have them and after rummaging through my dies, I found these old Crafter's Companion Classiques dies called Forget Me Not. The most Fuchsia colour I could find in my inks was Picked Raspberry, and I decided to use Distress Oxide. This is for the outer part of the flower and needs inking on both sides. For the inner part of the flower, I used Spun Sugar, but only inked the central part.


One of the interesting things from the video, is the detail for the stamen. One of the stamens needs to be longer than the rest - and this one should be white. I used a bit of wire to secure them together, and wrapped it in a bit of green floral wire. This might be better done afterwards, but I though it might give a bit of stability. The inner part of the flower needs to be like a cup - and although she used foam, she didn't heat it. I did heat it as it kept the cup shape better. The outer part is shaped using a very small ball tool. I didn't have one that small so used the end of my Crafter's Companion quilling tool. You move the ball from the tip of the petal to the centre of the flower.


I love that she showed how to make a bud too. I started with some green floral wire as this is much stronger than the wire I used for the stamens. I didn't have any white floral tape, so used (as she suggested) white tissue paper. You then thread on the flower top, and use glue (I used a hot glue gun) to stick down each petal in turn. 


The next step is to wrap the piece just below the flower in white floral tape or, in my case, white tissue paper. This is then coloured with the same ink as the flower. The same is done with the white part on the bud. I would highly recommend watching the video as it was so helpful and I am so pleased with how these turned out. I shall definitely be making them again. And also checking out more of Archana's tutorials.


For the fold over box, you need a piece of card 10"x10" and two pieces 6" x 9". I used A3 Centura Pearl Hint of Gold.  The two smaller pieces are scored at 3" on one side. The small panel provides an overlap for the spine, and these are stuck together.  The box is scored at 3" on all sides, and cut and folded up.


For additional F's (and E's) I used a Fairy topper from Crafter's Companion Faerie Poppets CD, and Fussy Cut a couple of the layers. The Embossed card is (although it doesn't show very well) the paler pink card that I mat and layered with.


In her tutorial, Beccy shows a way of fastening the box, but I chose to go with fuchsia ribbon. This was taped onto the inside of both sides, and the covered with the decorative mats and layers. including the fuchsia coloured card, the pink embossed card, and a patterned paper from the Faerie Poppets CD.


The outside of the card , and the outside and inside of the box were decorated in the same way.


The Faerie Poppet and the Fuschias were added to the front, with a bow and some pearls.


So, there you have my Fuchsia Fold over box with Fuchsias, Flower Forming Foam, a Fairy, Fussy Cutting and elements from the Faerie Poppets CD. 

Happy crafting!
Cxxxx 

Wednesday, 1 July 2020

Hats - Go Large!

There's always fads and fashions and trends in any area - and one of the most recent in the craft world was the hat easel. I resisted for a while, but then decided to have a go myself. I found some instructions on Positively Papercraft - with two different posts sharing instructions and videos for construction and for two different hat boxes.

I decided that I wanted to go much bigger than this, so I have adapted the sizes  - but pretty much followed the assembly. I didn't bother with the fancy boxes - but did make a box to deliver it in - more details later. I really relied heavily on my Spellbinders circle and scalloped circle dies - both the ordinary set and the Grand set - which I have had in my stash for a very long time. The measurements that I mention are in relation to these dies. 


To make this (at this size - which is just over 7"), you will need 2 sheets of A3 card for the easel base. I used Centura Pearl card from the Pastels pack. I used one sheet and cut a long strip off - 15 1/2" x 2 1/2" - you will need this later. The rest of this piece of card was scored and folded at 8 1/4" and then the base was cut with the largest Spellbinder circle die that I have - 7 1/4".  Once cut,  one side of the easel was cored a 3 5/8".

Please note: some of the photos are of another hat easel I made as I didn't take many photos while making this.


The strip that was cut needs to be scored at 1/2" and 2", and then notches cut into it as shown below.


This will form the sides of the hat, and is attached to a circle of 4 3/4" diameter as shown below.


It's then all about assembly. I started by decorating the hat top as I found this easier to do before sticking in onto the large circle. I used strips of patterned paper 1 1/4" wide to go around the hat top, and then went round with ribbon. I added a 4 1/4" circle in a patterned paper to the very top


You need another 7 1/4" circle for the top of the easel card - which serves as the brim of the hat. On this one I added a 7 3/8" scalloped circle in green, a 6 1/4" circle in orange, a 5 3/4" circle in the patterned paper, and a 5 1/8" scalloped circle in the original Centura Pearl. Onto this, you glue the hat top.

For the easel base, I used the same size circles and scallops as above, but added another green 4 5/8" scalloped circle. In other ones I have made, I have added another 3 3/4" circle on the top of that - but didn't do that here.


For the sentiment/stopper, I used a green 2 3/4" circle, an orange 2 5/8" scalloped circle and the sentiment was stamped onto a 2 3/8" circle of the Centura Pearl. For other ones I have made, I started with a 3 1/8" scalloped circle of the original card I made the base from.  The sentiment was stamped in Stazon - Cactus Green and sentiment is from an old Crafter's Companion Sentimentals stamp set.


I then decorated the hat brim with bow in the same ribbon as I used before, and then some flowers I made using Flower Forming foam (see my post here).


I did make a very simple box for this. I used two 12x12 sheets of Core'dinations card and used my Big Score to score at 2 1/4" all the way round. I have made 5 of these in total, and I will share the other designs as and when I give them to the recipients throughout the year - one is not until December - but the next one is only a few weeks away. 

Happy crafting!
Cxxxx

Monday, 13 April 2020

Use Your Craft Stash - Bird Box

Hello! Been a few days without blogging over the Easter weekend. Was so beautiful, and I spent most of it in the gardening tackling the ivy situation.  So, it seems quite apt that this weeks theme for Use Your Craft Stash is Gardens and Gardening. We are looking for creations of any kind that have a garden theme - and that means not just flowers. We want to see trowels, pots, seeds, bird houses, watering cans, wellies etc.

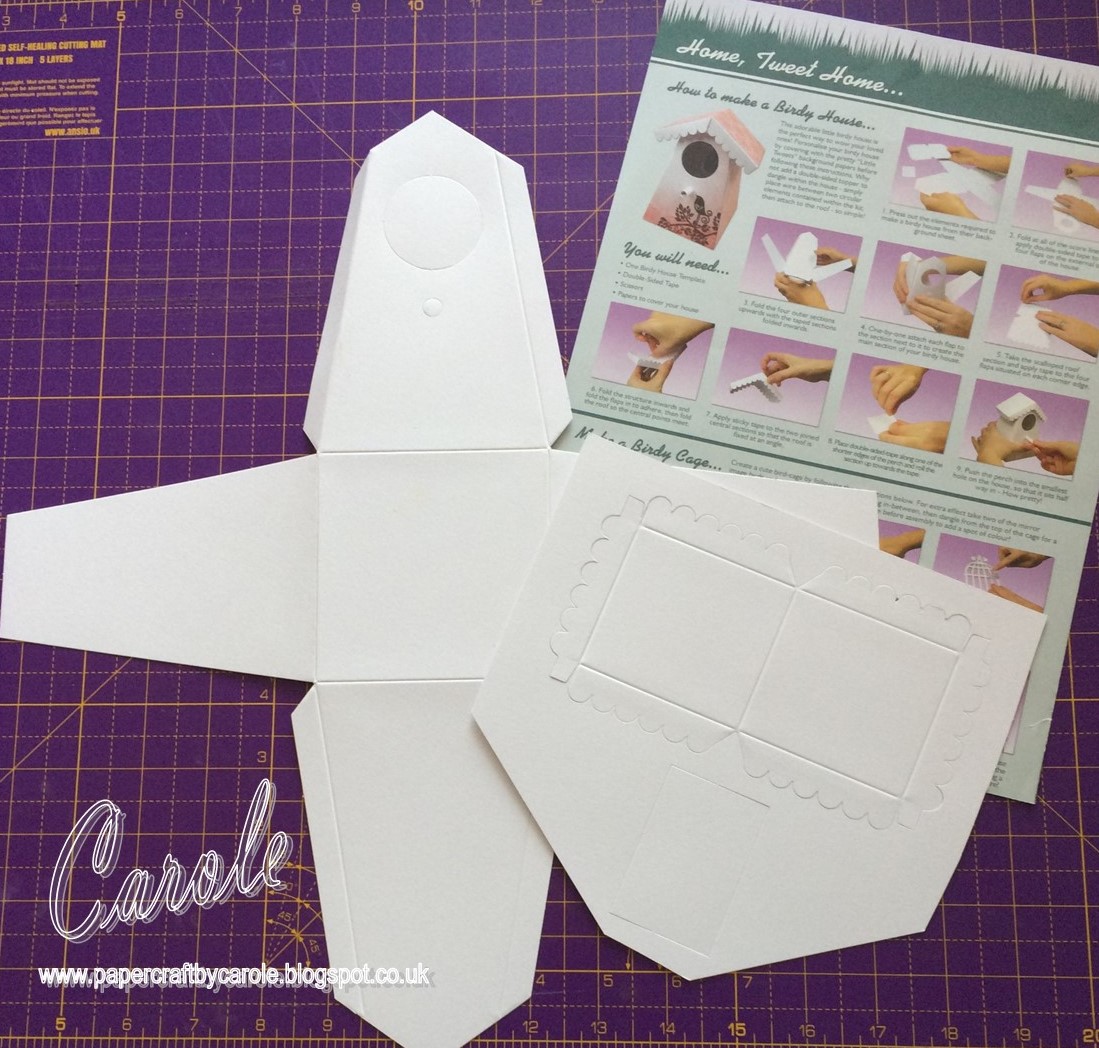
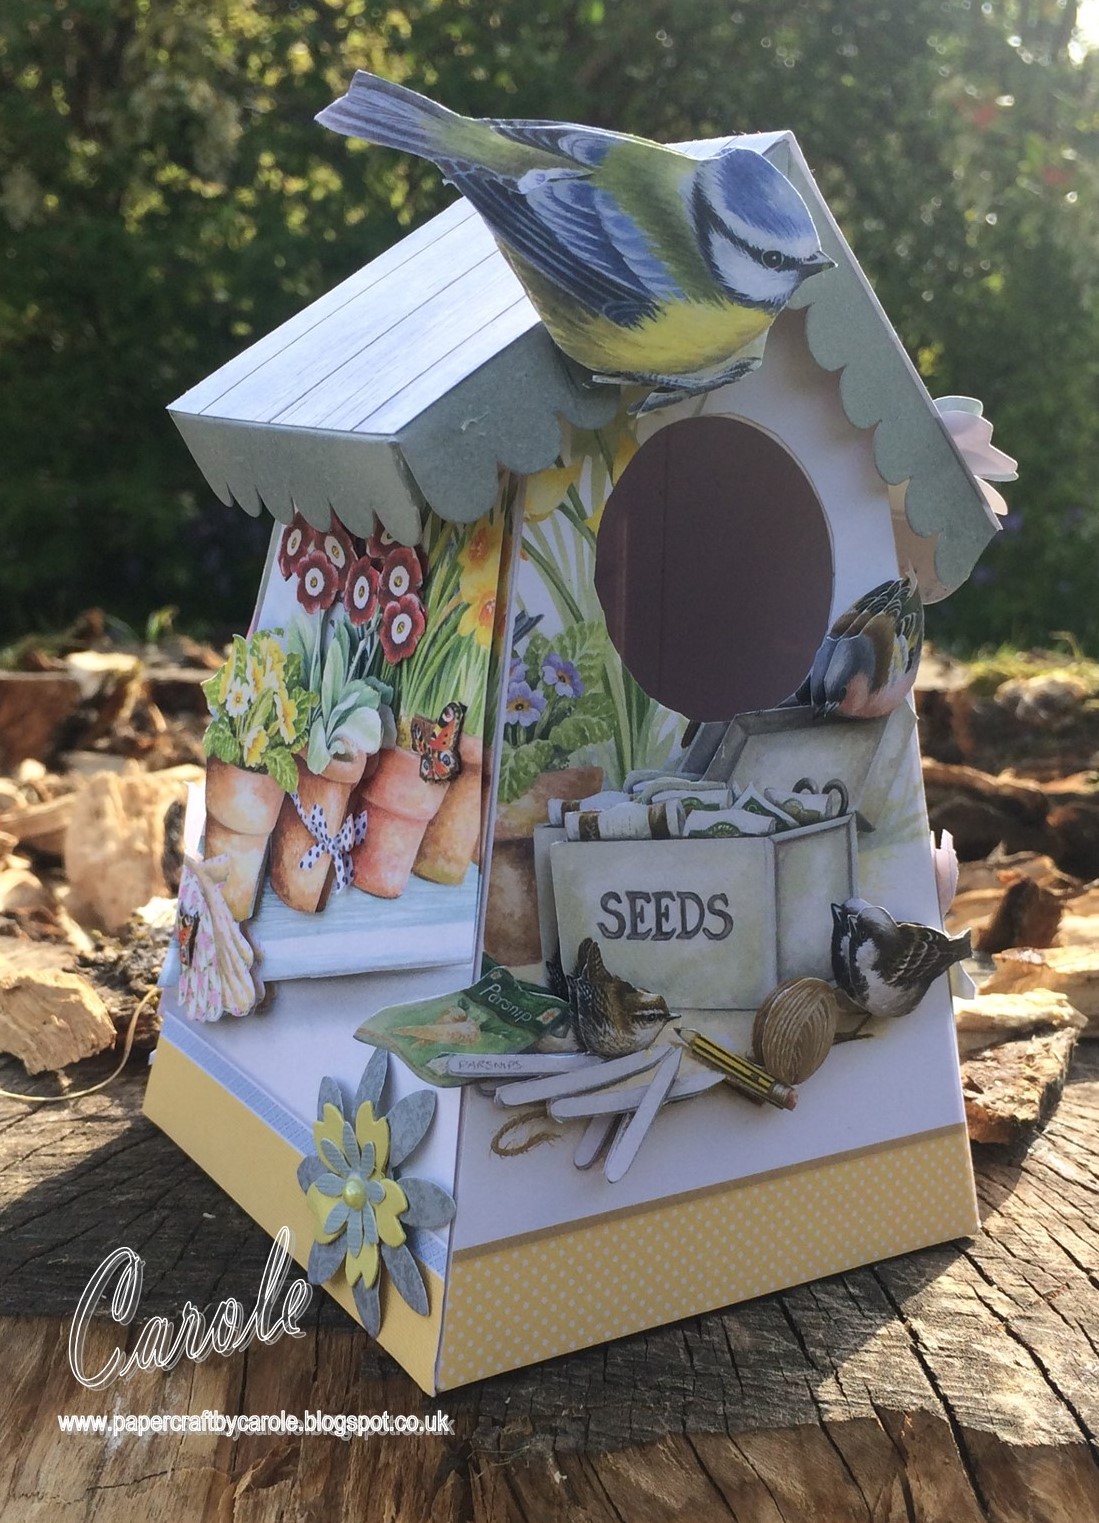
I have really gone into my stash for this one. Many years ago - I don't even remember when - Hunkydory had a Little Tweets collection, which included some pop out and make 3D bird cages and bird houses. I don't know that I ever used either (although I have vague recollections of cutting up one of the bird cages to use flat on a card).  Anyway, I thought it would be fun to use one of the bird houses as the base for my creation. These photos show views of all the sides.


The Birdy Box was really easy to make - especially as I still had the instructions with it. 


To decorate the sides, I used several different sheets from Hunkydory's Little Book of Garden Treasures which I have had for well over a year. I used the box itself as the template for cutting the pieces. 


I then used additional copies of the sheets to fussy cut layers for each side.


And then stuck the sides together. 


I then turned to the roof - at which point, I realised that the large blue tit was going to be in the way of putting the roof on - so I had to remove it and attach it to the roof instead.


The wood effect paper is printed from Crafter's Companion Monthly Downloads - May 2018 - Spring Floral. The edges were inked with Weather Wood Distress Oxide.


I wanted a few flowers to add to the roof, so headed to my flower stash. Lots of choice of bought flowers - both cheap and expensive - paper and fabric. And others that I have cut out for projects and never used. 


And it was amongst these I found some blue and yellow die cuts perfect for layering for this project.


These were stuck onto the roof, and onto one side of the box.  I really enjoyed making this - and am looking forward to seeing what others come up with from their stash.


I hope you are all staying safe. Take care,

Cxxx